Using PlanetScale with Prisma in Next.js
While looking for a serverless database solution, PlanetScale is an awesome option. With awesome features like unlimited connection and non-blocking schema changes, it’s an awesome tool to use in our projects together with Prisma.
In this post I will show how to quickly setup PlanetScale with Prisma in your Next.js project.
Setting up PlanetScale
First, install the PlaneScale CLI and login to your account.
pscale loginThen create your database. I’ll be using “akhilaariyachandra-com” as the database name.
pscale database create akhilaariyachandra-comBy default the database will be created with the main branch. Let’s make sure that we cannot make any direct changes to the main branch by promoting it.
pscale branch promote akhilaariyachandra-com mainAfter that, let’s create a development branch that we can make our changes in.
pscale branch create akhilaariyachandra-com developmentFinally we should run the development branch locally.
pscale connect akhilaariyachandra-com development --port 3309Setting up Prisma
Now that the PlanetScale database is set up for development, let’s install Prisma.
pnpm install prisma -DAfter that initialize the Prisma Schema.
pnpx prisma initThen will create the .env file with the DATABASE_URL variable and the schema.prisma file in the prisma folder. The DATABASE_URL variable will come a placeholder value so replace it with the local database path.
DATABASE_URL="mysql://root@127.0.0.1:3309/akhilaariyachandra-com"Make sure you replace akhilaariyachandra-com with the name of your database.
Next let’s take a look at the schema.prisma file. The first change we need to make is to set the provider to mysql.
// This is your Prisma schema file,
// learn more about it in the docs: https://pris.ly/d/prisma-schema

generator client {
  provider = "prisma-client-js"
}

datasource db {
  provider = "mysql"
  url      = env("DATABASE_URL")
}
Another change we need to make is to how foreign keys are handled in our database. PlanetScale does not support foreign keys so we need to make Prisma handle them manually using the relationMode field.
If you have a foreign key in your model, it is important to create an index on that field using the @@index argument to prevent perfomance issues as PlanetScale will not automatically create an index on that field because it doesn’t maintain it as a foreign key.
// This is your Prisma schema file,
// learn more about it in the docs: https://pris.ly/d/prisma-schema

generator client {
  provider = "prisma-client-js"
}

datasource db {
  provider     = "mysql"
  url          = env("DATABASE_URL")
  relationMode = "prisma"
}
Now we have to create a model for our database. For this post I’ll be creating a model for a basic page view counter.
// This is your Prisma schema file,
// learn more about it in the docs: https://pris.ly/d/prisma-schema

generator client {
  provider = "prisma-client-js"
}

datasource db {
  provider     = "mysql"
  url          = env("DATABASE_URL")
  relationMode = "prisma"
}

model Views {
  slug  String @id
  count Int    @default(1)
}
Once we have done the changes to the schema, we should push them to the database. The usual flow in Prisma with Prisma Migrate does not work with PlanetScale. We need to push the changes directly to the development branch.
To make things easier in the future, let’s create a script in the package.json file and run it.
{
  "scripts": {
    "prisma:db-push": "prisma db push"
  }
}
pnpm prisma:db-pushAfter Prisma has finished pushing the changes to the database, we need to install the Prisma Client.
pnpm install @prisma/clientSimilar to how we created a package.json script to push our schema changes to the database, let’s create another script to manaully generate the Prisma Client.
{
  "scripts": {
    "prisma:db-push": "prisma db push",
    "prisma:generate": "prisma generate"
  }
}
We can use the Prisma Client as is, but you might run into the following error because the Prisma Client is initialized repeatedly when a file is changed due to hot reloading.
warn(prisma-client) There are already 10 instances of Prisma Client actively running.To prevent this, we can initialize and store a Prisma Client instance to be shared.
import { PrismaClient } from "@prisma/client";

declare global {
  // allow global `var` declarations
  // eslint-disable-next-line no-var
  var prisma: PrismaClient | undefined;
}

const prisma: PrismaClient = global?.prisma ?? new PrismaClient();

if (process.env.NODE_ENV !== "production") {
  global.prisma = prisma;
}

export default prisma;
Now all we have to do is to import the Prisma Client from this file. You can use Absolute Imports and Module path aliases to make an easy path to import it from.
{
  "compilerOptions": {
    "baseUrl": ".",
    "paths": {
      "@/prisma": ["prisma"]
    }
  }
}
// Example
import prisma from "@/prisma";
await prisma.views.findMany();Deploying to production
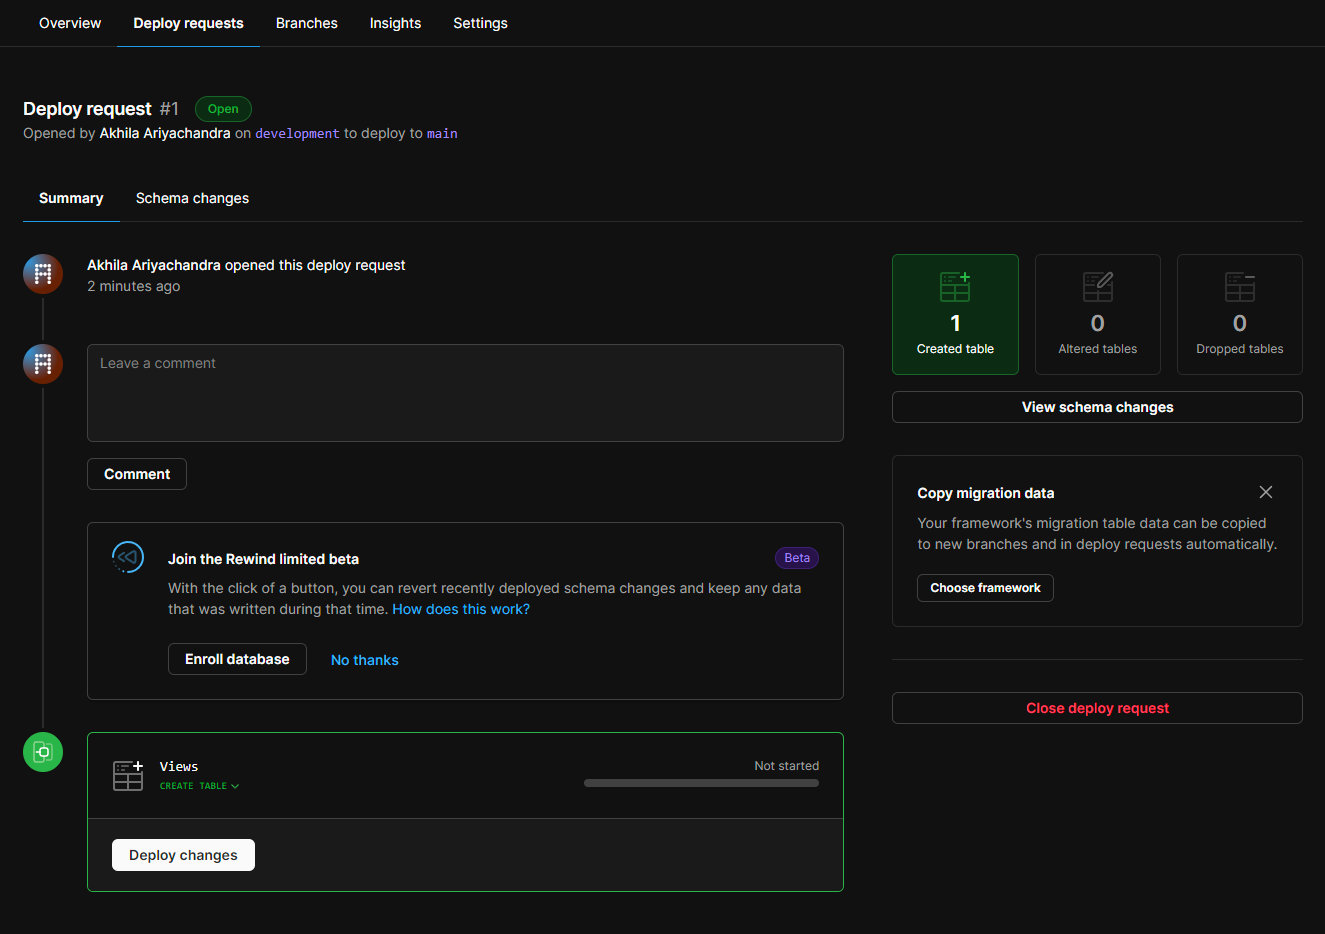
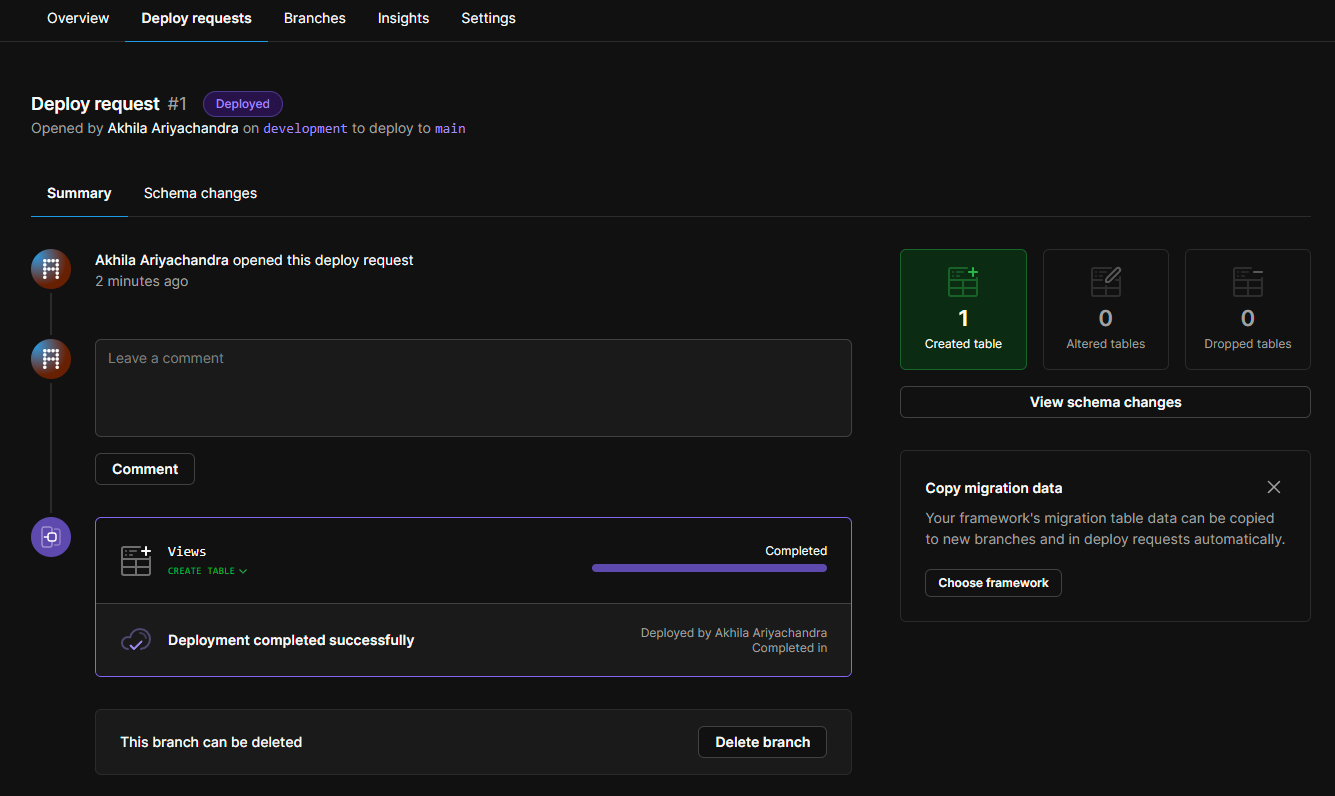
After we have done our development, we need to push the changes to production. We cannot directly push the changes to the production branch in the database. For that we need to create a deploy request.
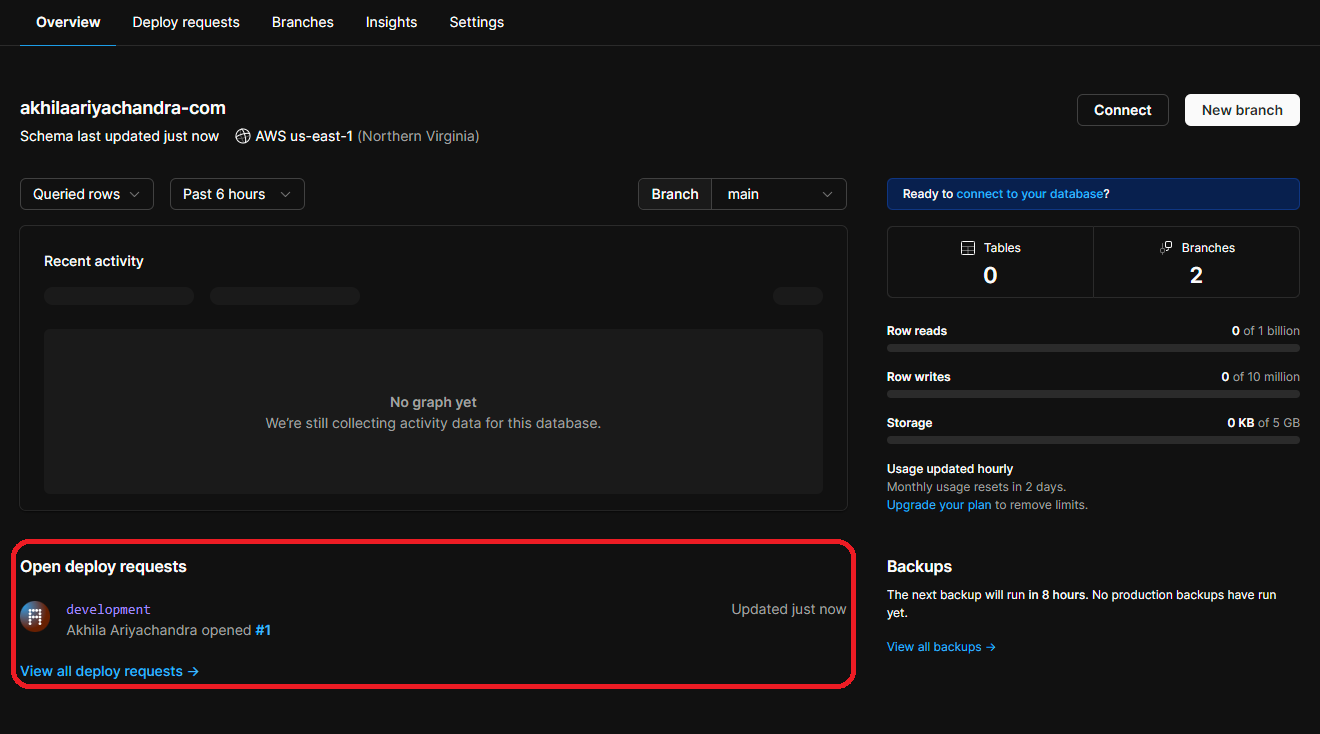
pscale deploy-request create akhilaariyachandra-com developmentNow if we go the database page in the PlanetScale dashboard, we can see the deploy request.
Deploying the Next.js project to Vercel
Finally before pushing the commited changes so that a new build can be deployed in Vercel, make sure that you add the DATABASE_URL environment variable to your project settings.
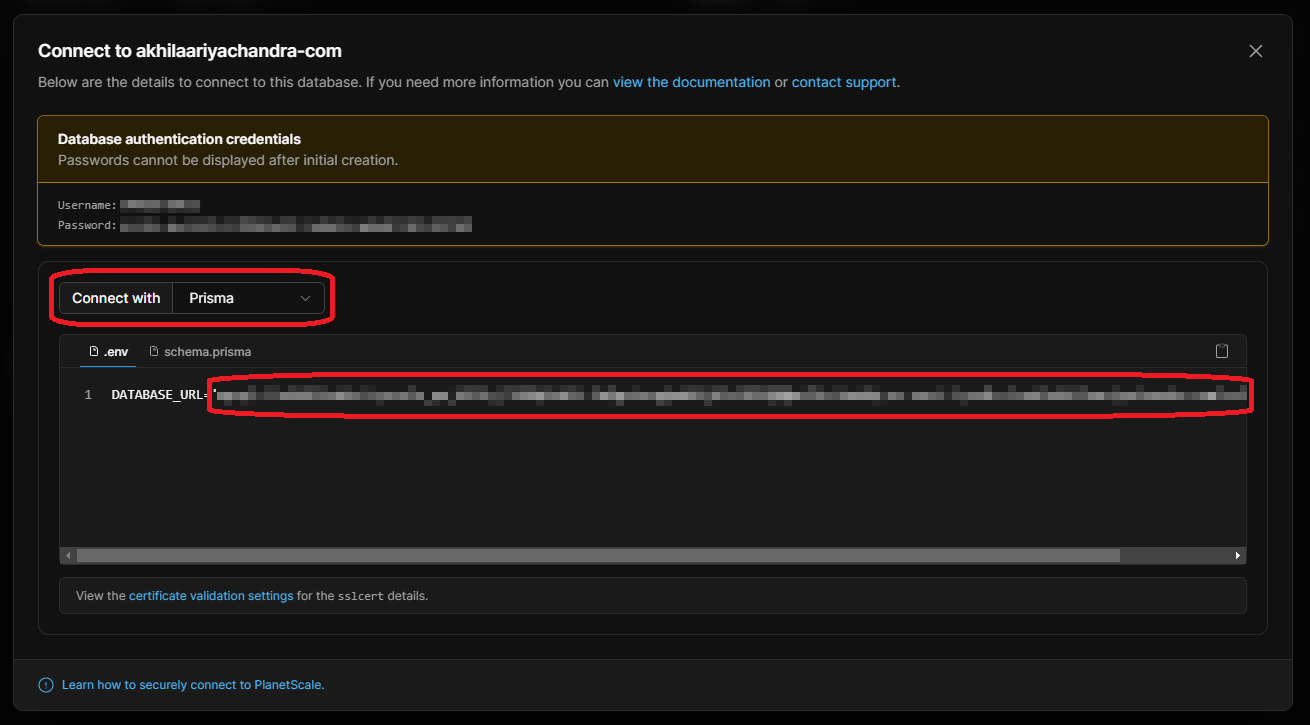
To get the connection URL, go the database overview and click the “Connect” button.
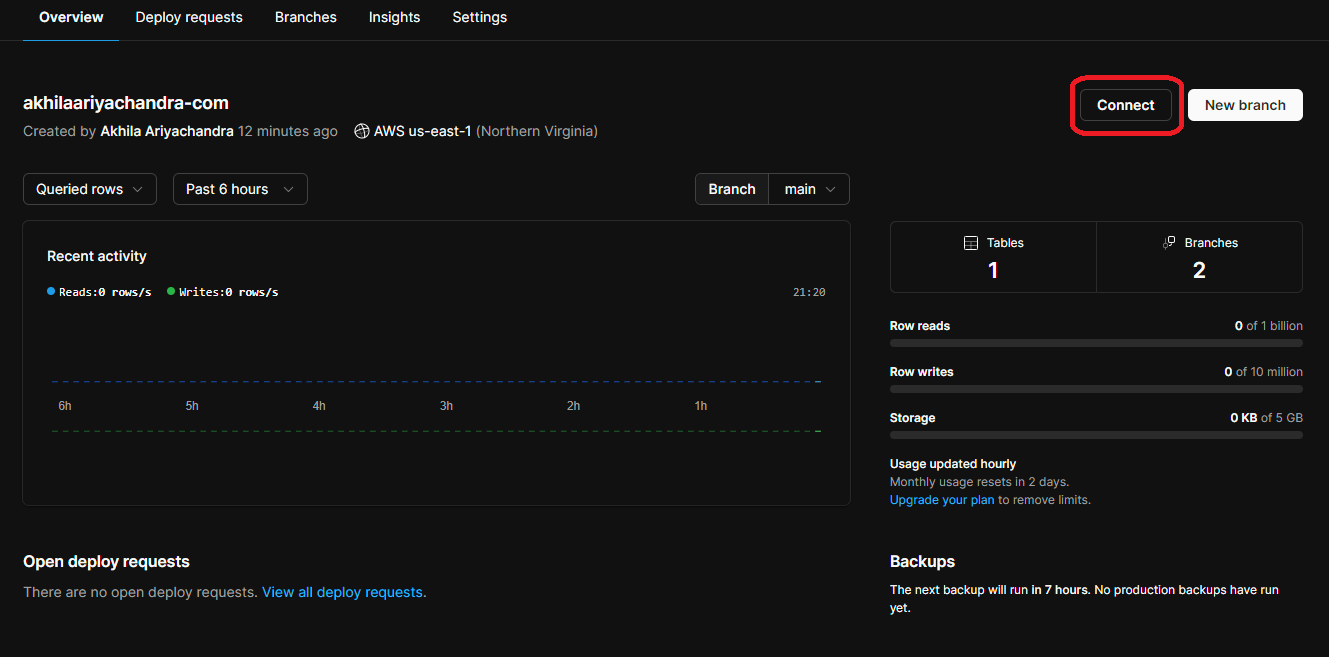
Then set “Connect with” to Prisma and add the connection URL to the Vercel Project.
Finally you are ready to deploy to Vercel.